
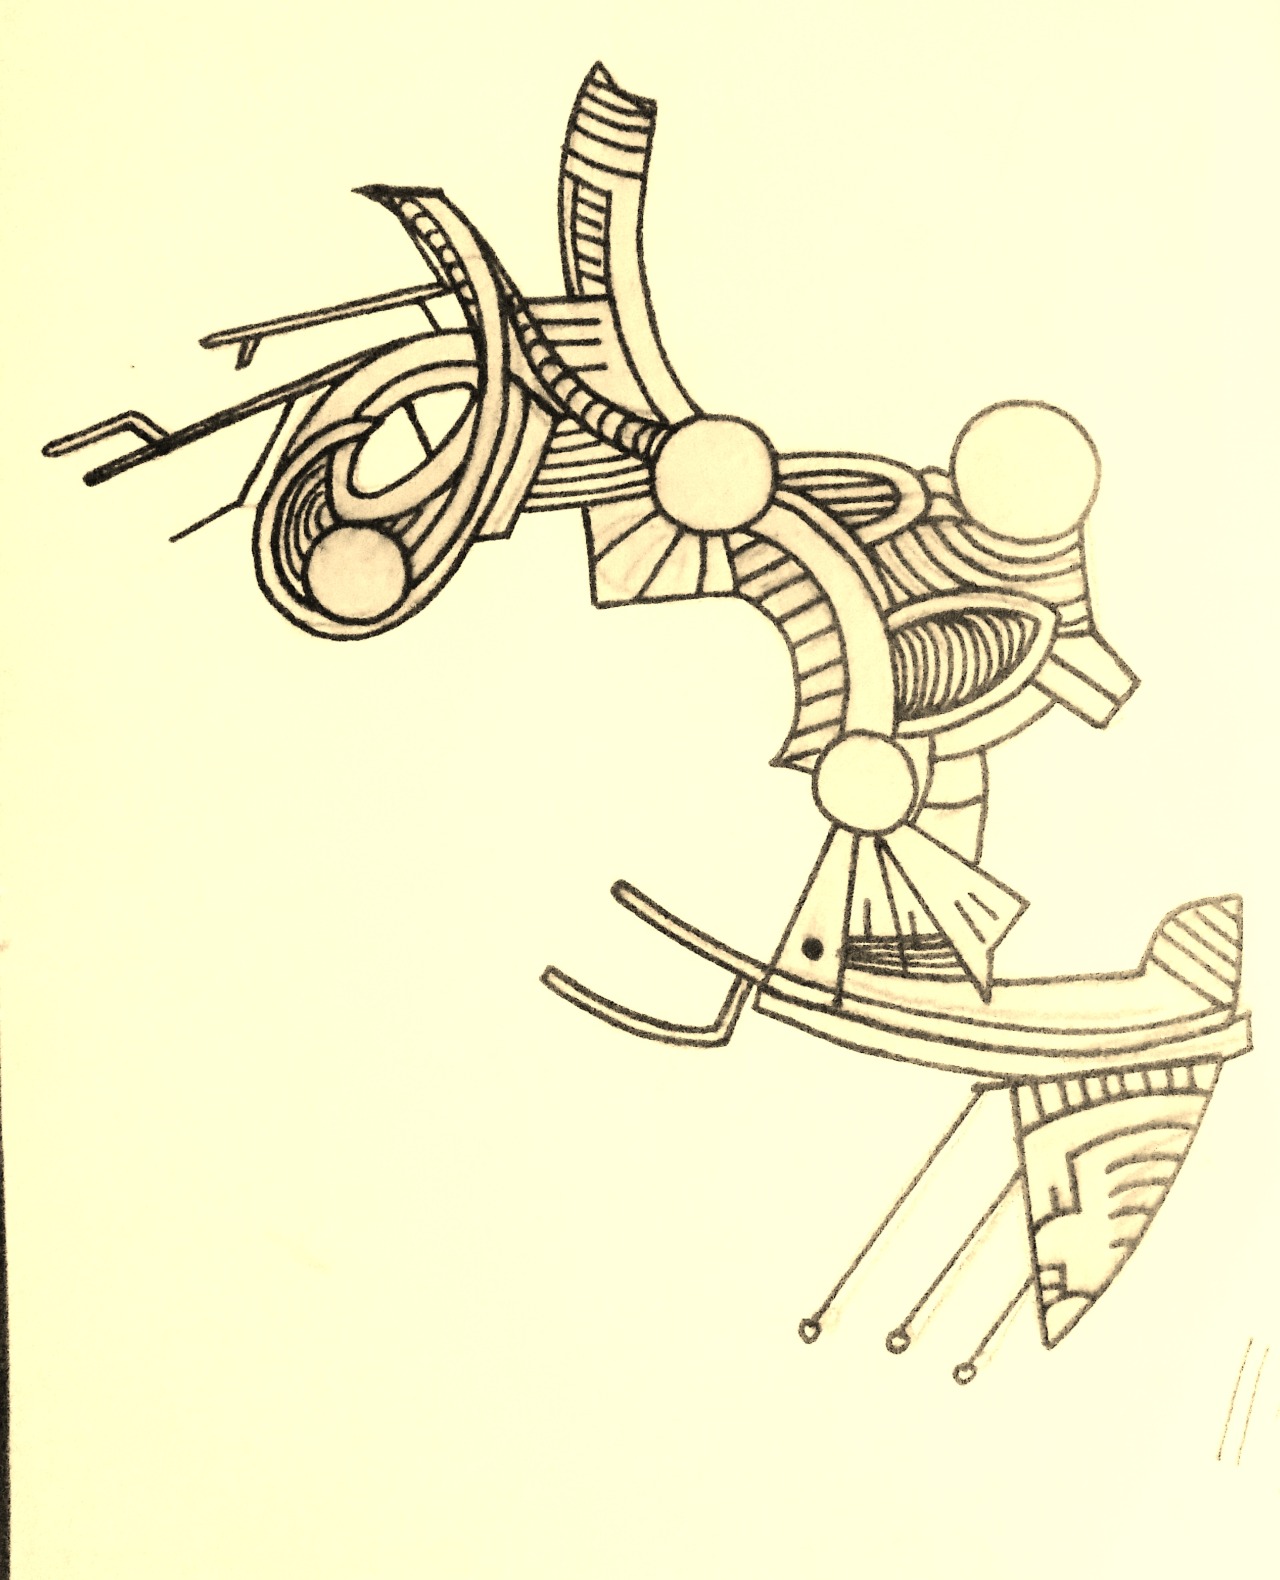
First of all, i tried to get an outline of the piece that was vaguely accurate from a few screen shots, trying to include all the lines and details and ended up with the picture below.
From this template i then shaped pieces of super sculpey roughly into the shapes on the page.
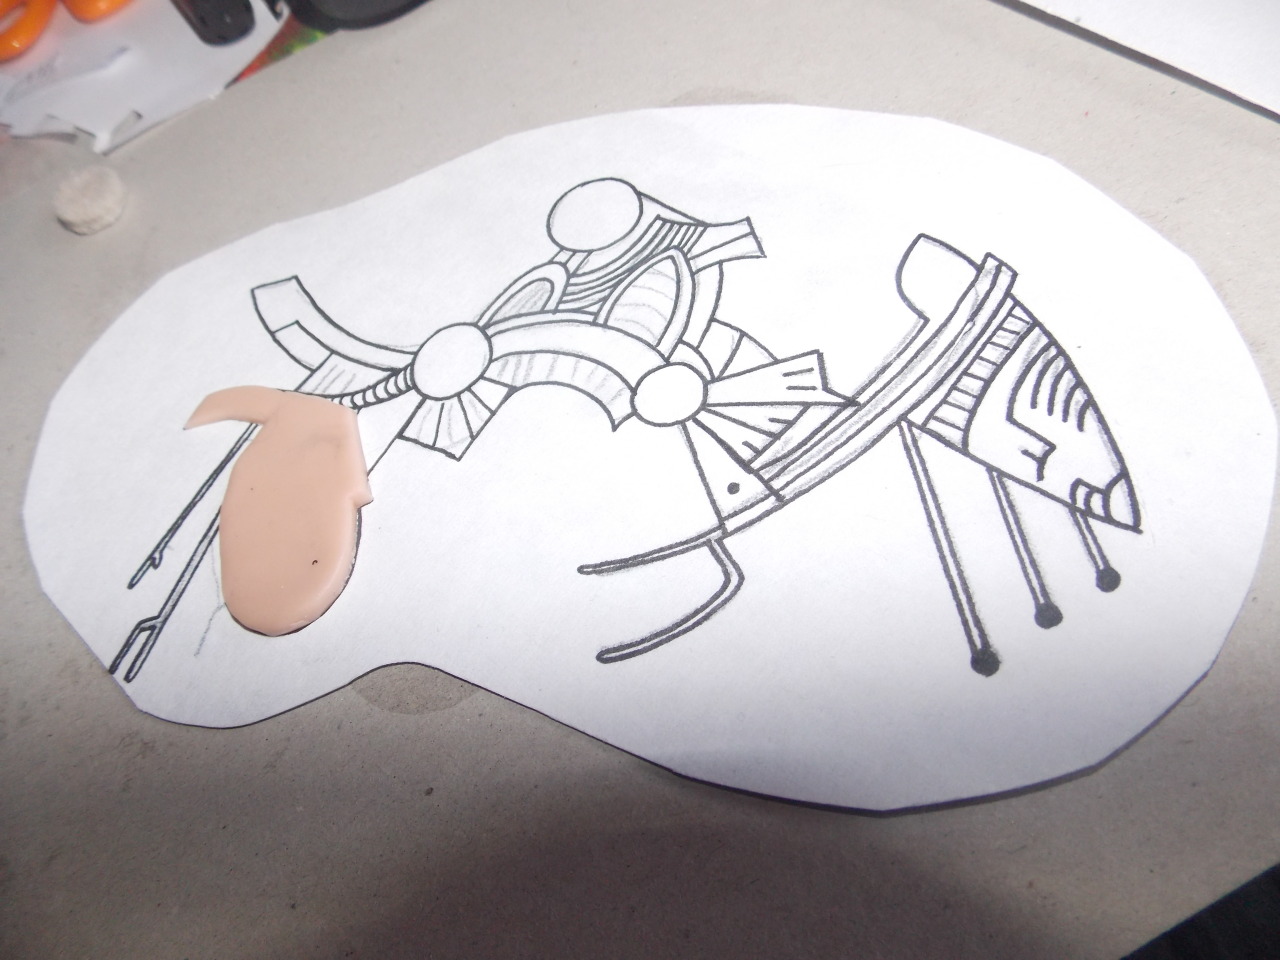
At this point i decided it would be a good idea to make it in seperate sections to allow easier movement, you could do it all in one piece, or just two. I ended up with four.
Once the basic shapes were done, it was time to put in the detail. I used a scalpel and a cocktail stick to draw in the lines.
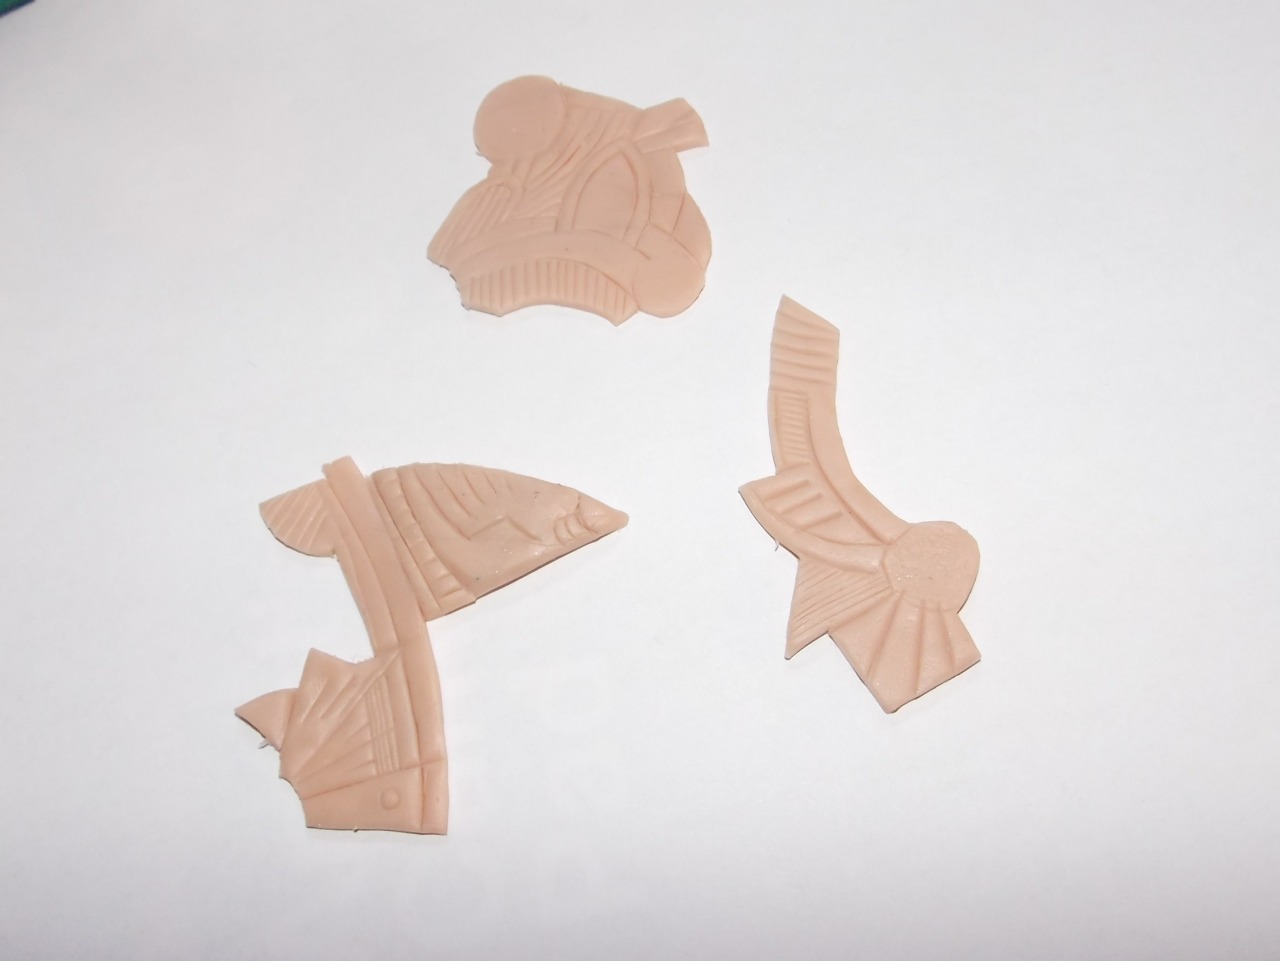
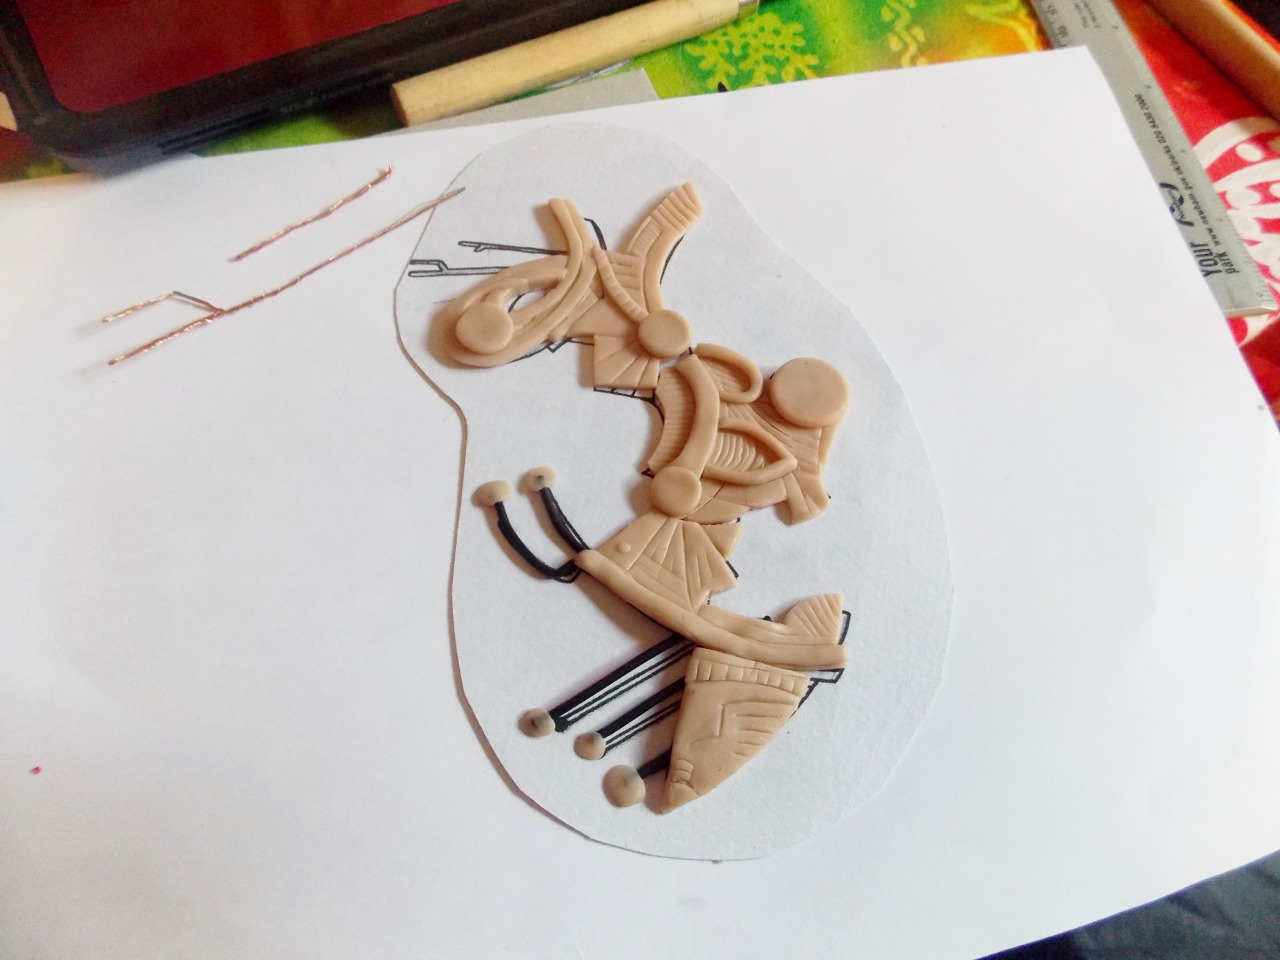
I added a little extra clay for some of the details and scrap wire.
The next part was rather tricky, although im sure there are easier ways to do it!
I very awkwardly and gently moulded the sections to the shape of my face (this is tricky because they fall off... alot)
Everything then went into the oven for 5/10 minutes.
Then once its cooled down and hardened you can paint it. I just used silver modelling paint and a tiny bit of black for the details.
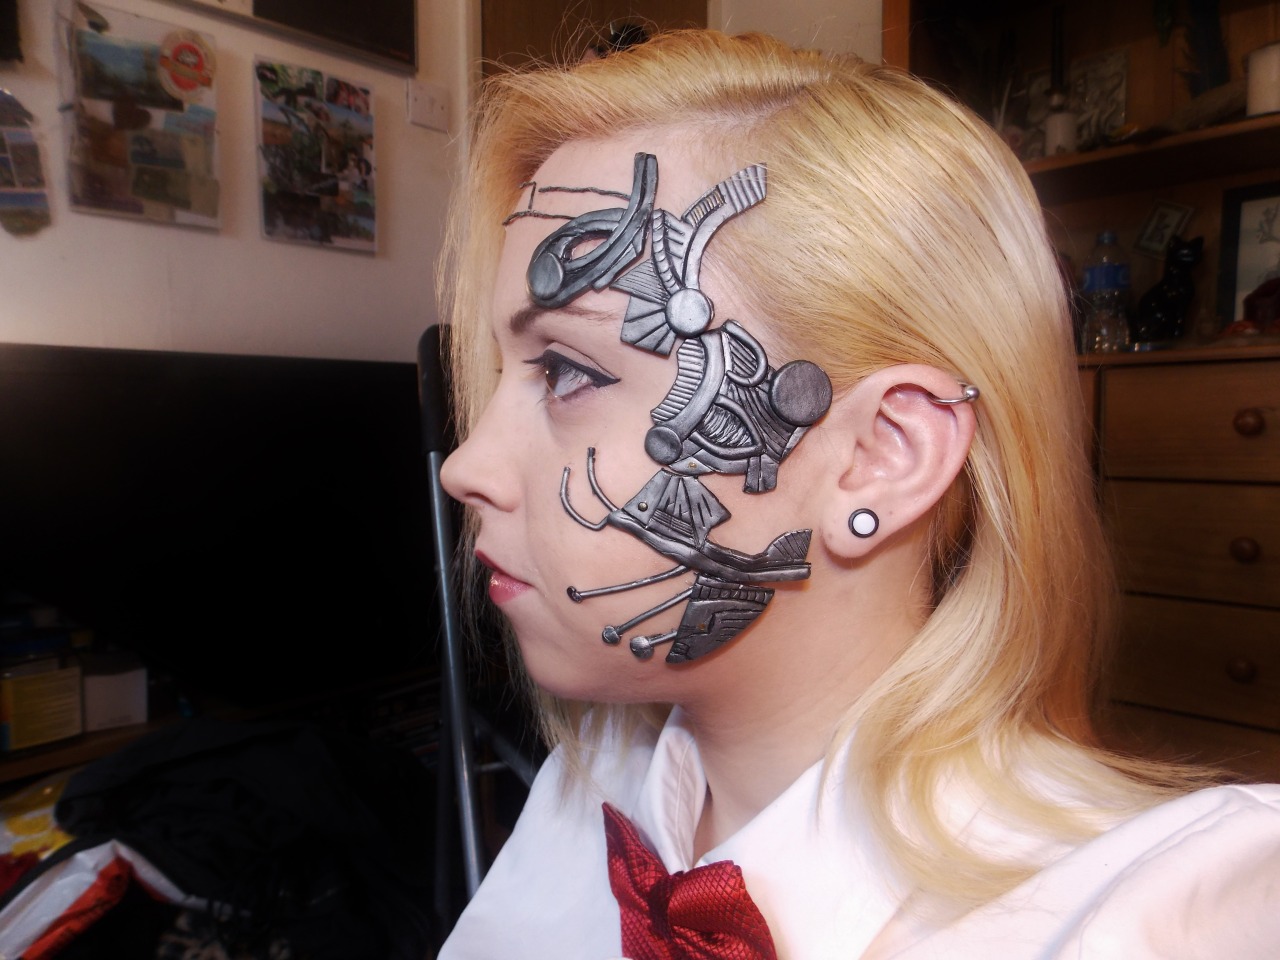

and there you have it!
I feel like i should point out that the last photo is of course photoshopped. One day i will be clever enough to figure out how to add bits that glow.... one day!